.png)

How to share your transaction data with connected applications
To start, open your connected application and trigger the consent flow. The consent wizard will open in a new browser tab.
Throughout this guide, the connected application is ‘Microsoft Dynamics 365 Business Central’ that the user is sharing data with.
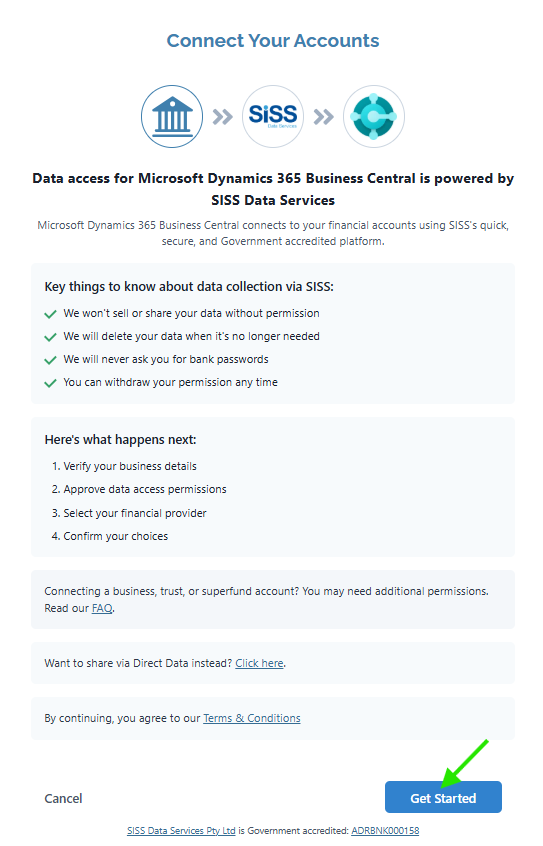
You will start on the Connect Your Accounts screen > read about data collection and what happens next, review the Terms and Conditions > click Get Started
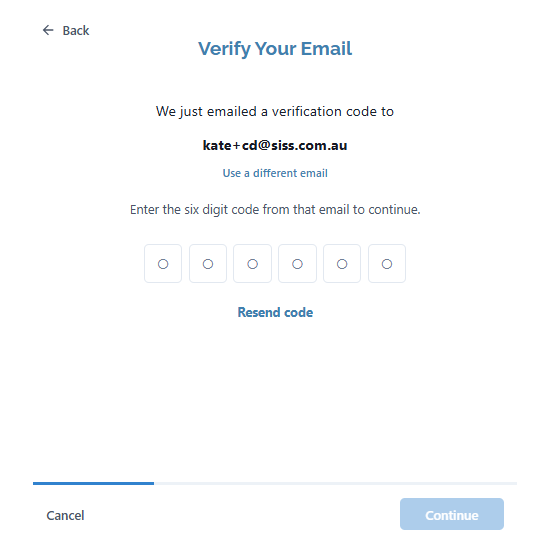
Next, you will be asked to Verify Your Email
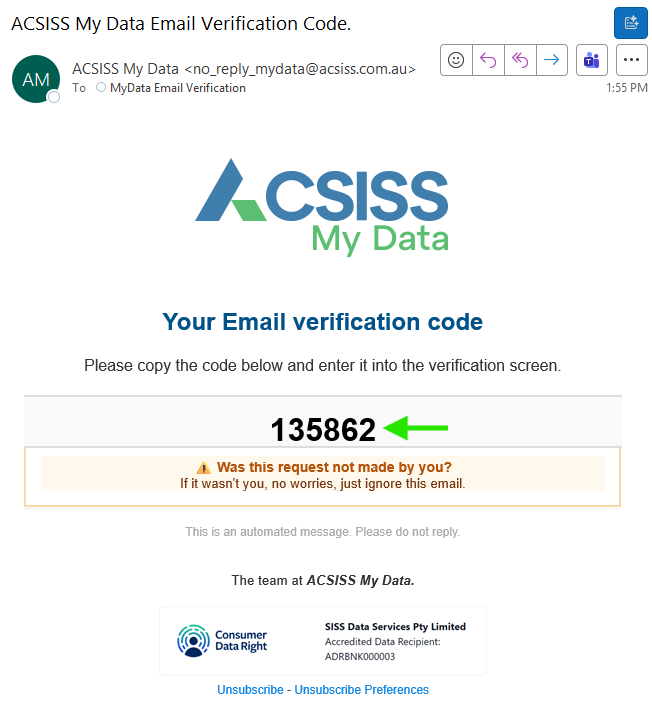
Go to the mailbox that the verification code was sent to and copy it
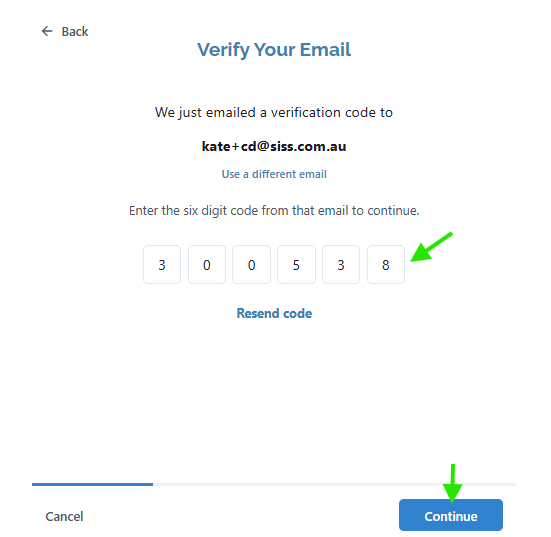
Paste in the verification code and click Continue
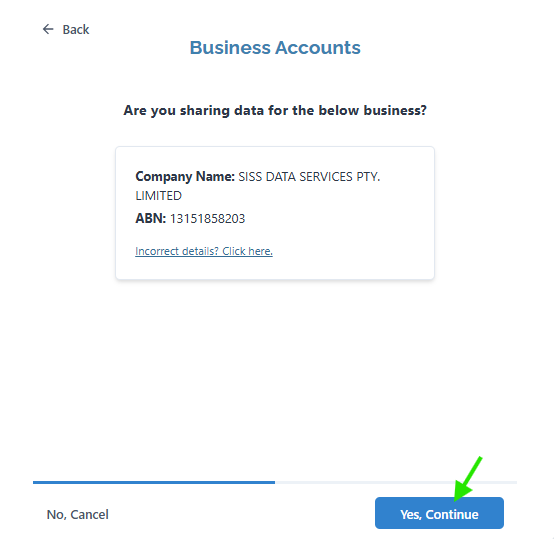
On the Business Accounts screen, check the Company Name and ABN are correct > Click Yes, Continue
If the Company Name and ABN are incorrect, click the Incorrect details? link > enter the correct ABN
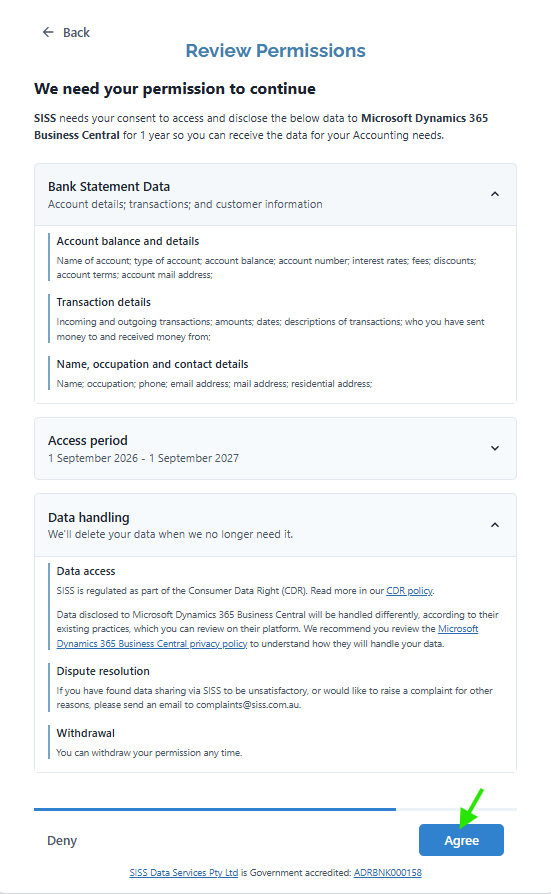
Review the permissions and click Agree
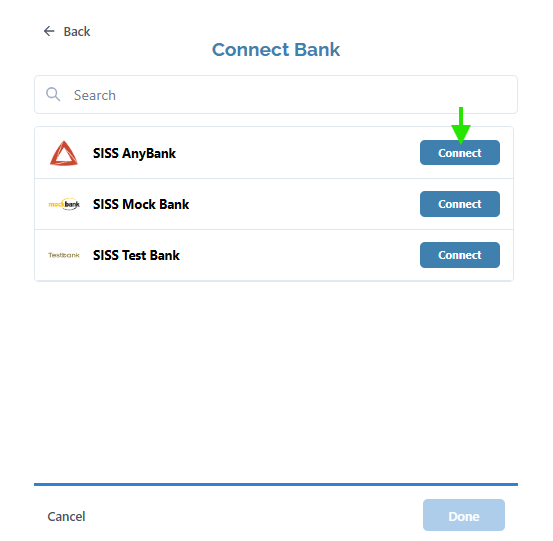
Search for the Bank you want to connect an account from and click Connect
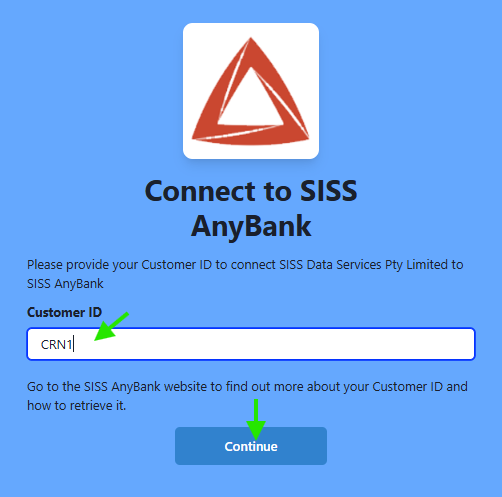
You will be redirected to the bank you chose to connect to > enter the ID that the bank asks for (it may be a mobile number, customer reference number, or another form of ID) > click Continue
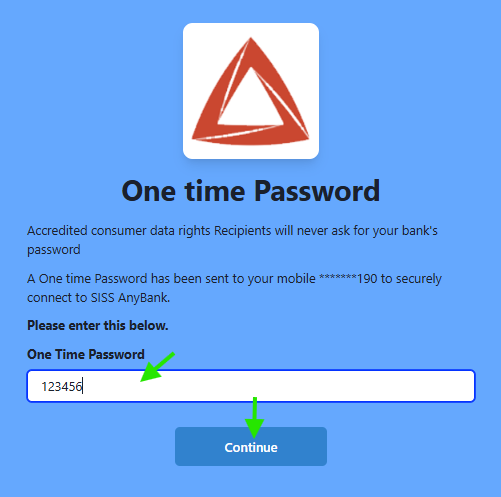
Enter the one-time-password (OTP) received from your bank > click Continue
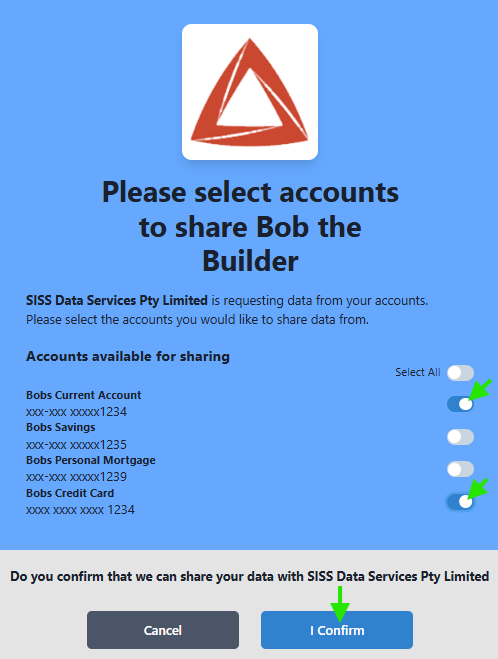
Select the accounts you want to connect > click Confirm
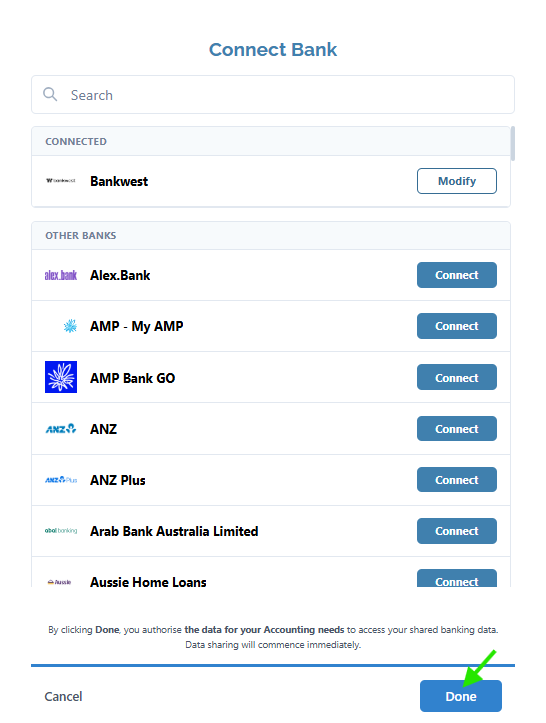
Next, you will be returned to the Connect Bank screen
If you want to modify the consent (add or remove accounts) > click Modify > you be redirected to the bank again to modify your consent.
If you want to connect accounts from another bank > search for the bank and repeat the authorisation and consent steps
If you are finished connecting accounts > click Done
You will be redirected back to the application you started in
Transaction data will now be available in your application